We help people repair plastic
Kayak and Canoe Repair
With the Kayak and Canoe "KC" Welder Pro, you can create permanent repairs to your cracked kayak or cracked canoe. This repair kit comes with everything you need to make a quality weld.
Instructional Video
Step-by-Step Instructions
NOTE:
If you can access the inside of the kayak, you will weld both the inside and outside of the kayak. If you cannot access the inside, you will do a repair only on the outside. This SOP will assume you cannot access the inside. The airless fusion welding process is the same regardless.STEP 1
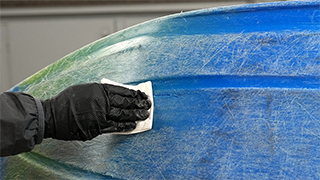
Clean the kayak. Spray 1001-4 EcoPrep or 1000 Super Prep Plastic Cleaner and wipe dry with a clean, lint-free towel. Make sure the surface is completely dry before continuing.
STEP 2
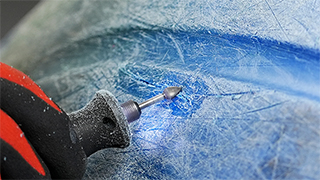
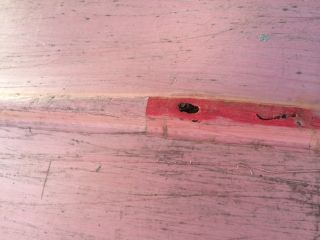
On the outside of the kayak, use a die grinder or Dremel® tool to expose the raw plastic around the crack, about half an inch on all sides.
STEP 3
Select the welding rod that matches your kayak plastic. (Use R04 or R12 rod for polyethylene kayaks. R04 rod is recommended because it melts easier.)
STEP 4
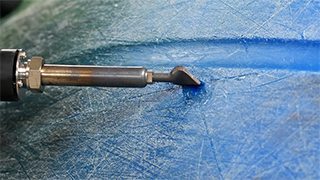
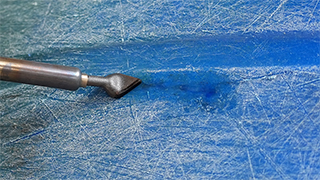
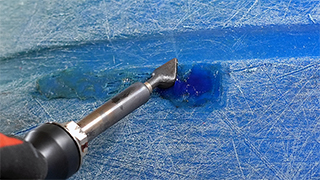
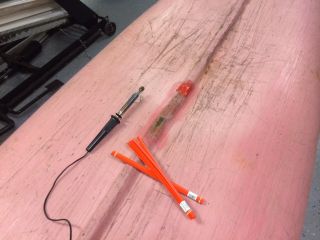
Use the sharp edge of the welder tip to melt a 1-to-2-inch groove in the plastic along the crack, and then push the displaced plastic back into the groove. Smooth the plastic using the tip of the welder.
Note: The key to this type of repair is to only work in small 1-to-2 inch sections at a time. Don't try to prepare and weld too large of an area at one time, because you won't be able to maintain heat to the substrate.
Continue this process along the entire crack.
STEP 5
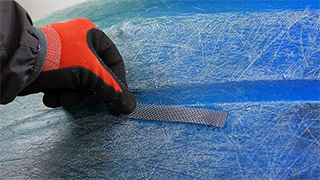
Cut a piece of stainless steel wire mesh to fit the prepped area.
STEP 6
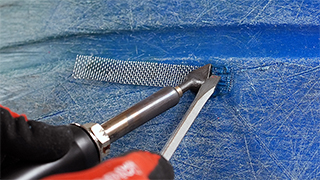
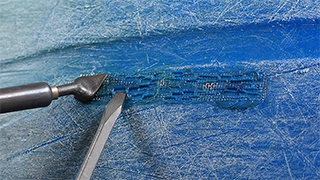
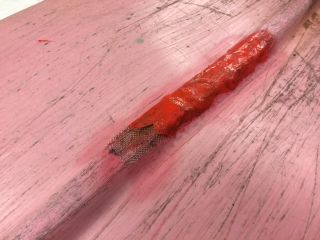
Place the mesh onto the plastic and bend it to shape if necessary. Lay the welder tip on top of the mesh to melt the plastic underneath. Once the plastic is melted, use a metal tool to push the mesh deep into the melted plastic. Work in small sections at a time.
Continue working a little at a time until the mesh is fully embedded in the plastic.
STEP 7
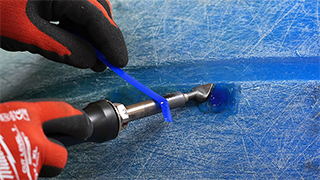
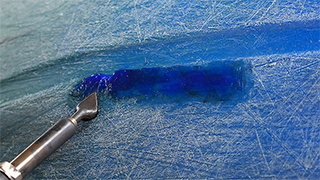
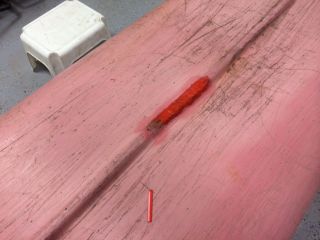
Use the welder’s tip to re-melt the plastic while simultaneously melting the filler rod on the barrel of the welder.
Melt both sides of the filler rod and stick it ontop of the melted area. Mix the filler rod and the melted plastic together.
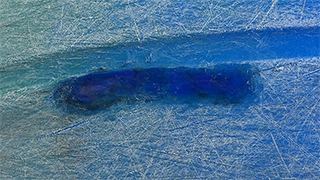
Continue working a little at a time until the mesh is completely covered and the filler rod is thoroughly mixed with the base material.
STEP 8
The weld is complete. Allow the weld to cool completely before handling.
Cosmetic Restoration Video
Testimonials
Hello Polyvance,
I wanted to take this time to thank everyone at Polyvance for all that they do! I live near a beautiful pond and have not been able to fish certain areas due to the size. I came across a free canoe from a friend but it had some nice size holes on the bottom of it. I ran some Google searches and the promising research I discovered brought me to Polyvance. I emailed my concern to Polyvance and not only was the answer "YES we can fix that" but the response time was within hours. The customer service and product is top notch! I wish more companies conducted business the way Polyvance does. Thanks again for the great service! My free canoe has brought me joy and many great catches!
Top Recommendations,
Richie from Northern Virginia
Here is a temporary repair that one of our customers sent in....
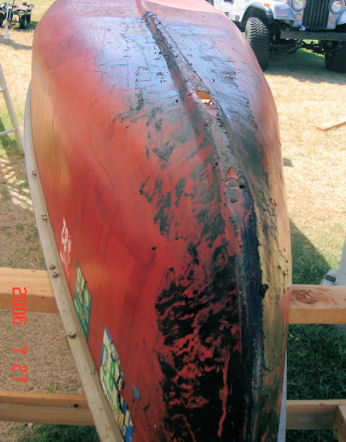
"I have a rather humorous story about my vain attempt to repair a canoe...and some pictures from the mess I made trying to remove my latest patch job: tar backed aluminum roof flashing.
"We, for the past 3 years, have tried everything...yes everything conceivable in the form of adhesive, epoxy and tape to fix this old boat.
"Actually duct tape (our first attempt) worked the best of them all but due to the size of the hole we were covering it just wouldn't last.
"Epoxies won't stick, not even J.B. weld. And riveted patches always leak and snag on rocks.
"Last year, in a last ditch desperate attempt to get the thing in the creek again, I applied a layer of tar backed aluminum roof flashing to the keel.
"It worked for about 1 mile and then began to leak.
"Finally I contacted Coleman and asked their advice, so I am now ready to fix the thing right...well, not quite...I now have to remove the freaking tar!
"I got out my trusty grinder with a cup brush and slung the crap everywhere, before realizing it wasn't removing jack crud, just smearing it and slinging it all over my legs and patio cover. So I went and got some turpentine which is pretty useless on 1/8" thick tar.
"Finally I got out my Wagner Heat Gun and melted it and scraped it.
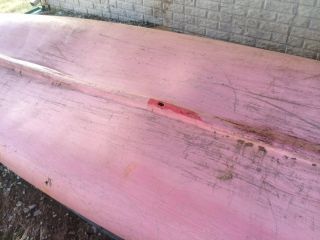
"These pictures are AFTER 2 hours of work. It looks like I have another couple hours left...But at least I know what to do now...
"Feel free to use this email and pictures on your website, and some complimentary orange filler rod would be nice too :)"
Paul Cunningham
Lawton, OK
Product Suggestions

