We help people repair plastic
Infiniti FX45 Bumper Repair - Step By Step
This will show exactly how to repair a TPO bumper from start to finish. This particular Infiniti FX45 bumper was cracked when the driver hit a deer. (The crack still had deer hair in it)
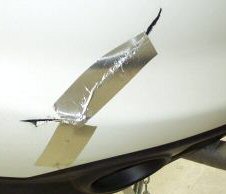
Step 1
After cleaning the repair area and removing the deer hair, the crack was kept in alignment with aluminum body tape. Aluminum body tape was used because it is very stiff and very sticky.
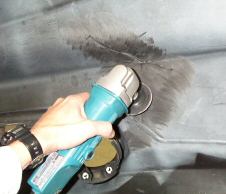
Step 2
Since this is a TPO bumper, we are going to use the FiberFlex rod. Since the FiberFlex is NOT a "true" weld (it is actually a hot melt adhesive that uses the welder to apply it), we need to get the area as rough as possible. We are using a 36 grit Roloc disc. This has to be done at slow speed. Otherwise, you will melt the plastic.
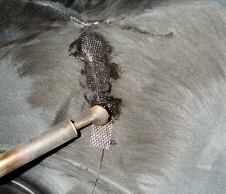
Step 3
To reinforce the repair, we are going to use the Reinforcing Wire Mesh. Cut a strip of wire mesh to overlap the crack about 0.5 inch on each side. Using the flat welding tip, melt the mesh INTO the plastic. Putting the wire mesh INTO the plastic is like putting rebar into concrete.
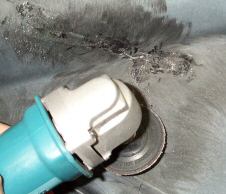
Step 4
FiberFlex, being an adhesive, will NOT stick well to a slick surface. After burying the mesh INTO the plastic, you need to get rid of the shiny-ness by sanding again. Be careful not to dig into the mesh. Sand it lightly.
Step 5
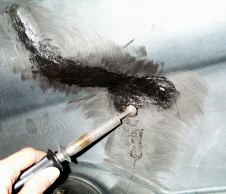
Apply FiberFlex to the backside using the Mini-Weld Model 7 Airless Plastic Welder. This will complete the work that needs to be done on the back side.
Step 6
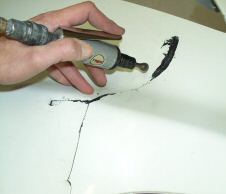
On the front side, you need to dig out a "channel" to accept the FiberFlex Rod. For this, we use an air die grinder and our 6122 Heavy Duty Burr
Step 7
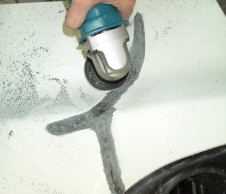
Make the "channel" wider using a 36 grit or 50 grit Roloc disk. The more surface area that you have, the better adhesion you will get with the FiberFlex rod.
Step 8
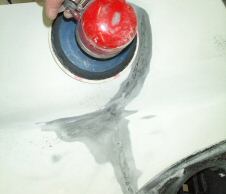
Remove the paint surrounding the repair area using a DA sander and 220 grit paper.
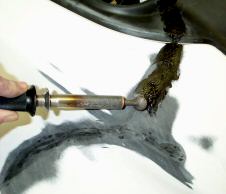
Step 9
Fill in the "channel" with FiberFlex using the Airless Plastic Welder .
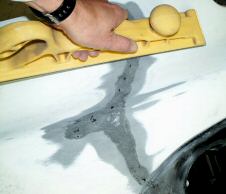
Step 10
Sand down the FiberFlex until it is flush with the surface.
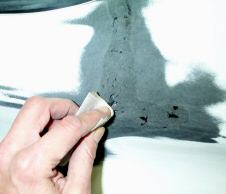
Step 11
Once again, you need to have a rough surface for anything to stick. So, hand sand any slick low spots with 80 grit.
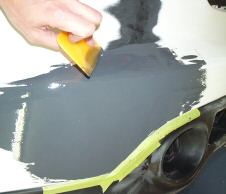
Step 12
To fill in the low spots, you can either melt some more FiberFlex rods or, like we did, you can put a skim coat of FlexFiller 2 on the area. Before applying FlexFiller, we applied Filler Prep adhesion promoter since this is a TPO material.
Step 13
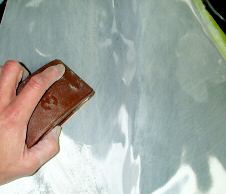
Since the material we are working on is TPO, you need to make sure that the epoxy is fully cured before sanding. Even though our FlexFiller is sandable in 20 minutes, it takes a full 24 hours for the epoxy to fully cure at room temperature.
Step 14
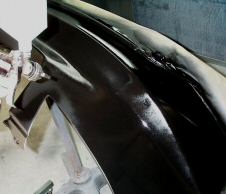
Once all the sanding was finished, we applied our Waterborne Black Flexible Primer Surfacer.
Step 15
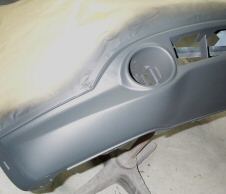
Since the textured bottom part of this bumper was also damaged and repaired, we applied Flex-Tex flexible texture material to simulate the texture.
Products Used For This Repair

