We help people repair plastic
How To Repair and Retexture a Bumper Cover
Step 1
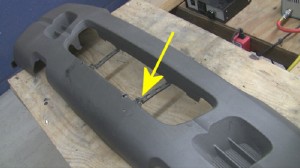
This 2002 Ford Explorer front bumper has only minor damage, but most body shops would not attempt a repair because it is textured. It has two broken grille bars, some minor dents, and some road rash. Since the OEM price on this bumper is $416, it might make sense to repair it if the insurance company is willing to pay enough to make it worthwhile. In this sequence, we will show the procedure for making the repair.
Step 2
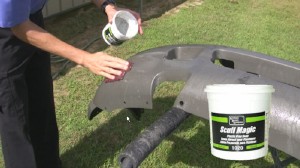
The first step in any repair is to clean the bumper. First use Scuff Magic prep soap with a red scuff pad and water. Wash and rinse the bumper inside and out.
Step 3
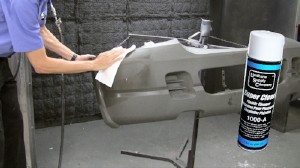
After the bumper dries, clean it again with a Polyvance plastic cleaner. Spray on a heavy wet coat in a small area, let it sit for a few seconds to dissolve any contamination, then wipe in one direction with a clean paper towel, exposing a clean surface with every wipe.
Step 4
Remove dents by heating the bumper with a heat gun. Heat from one side only until the plastic is too hot to touch on the other side. This ensures that the plastic is heated all the way through. Reshape the plastic to remove dents and stretched areas.
Step 5
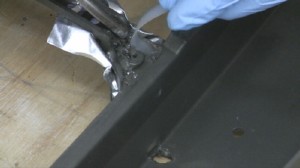
We will use the nitrogen welder to repair the broken grille bars. First, align the damage using aluminum tape. Then, using an R02 polypropylene welding ribbon and the nitrogen welder, weld the cracks. These bars can be reinforced by running two strips of welding rod on either side of the mounting hole.
Step 6
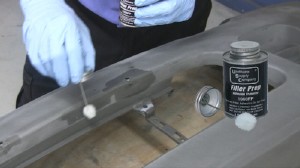
It’s faster to fill low areas with epoxy filler. To prepare, first sand the area with 180 grit in a DA. Then apply 1060FP Filler Prep adhesion promoter to areas you want to fill.
Step 7
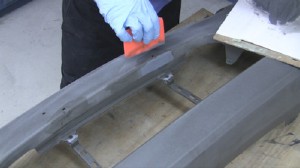
Mix 2020 SMC Hardset Filler by squeezing out equal portions on a mixing board. Mix completely until there are no streaks. Then apply the epoxy filler in the low spots on the bumper.
Step 8
Once the epoxy is cured, sand with 180 grit. Avoid using 80 grit on this soft TPO plastic as it will leave swirl marks. Use the 180 grit to sand down any road rash. When all the rough areas are smooth, sand again with 320 grit. Also, quickly sand the entire bumper with 320 grit sandpaper. You don’t need to sand all of the texture off, just knock the tops off for a more uniform appearance.
Step 9
Blow the bumper dust free, then spray a medium wet coat of 1050 Plastic Magic adhesion promoter over the entire bumper. Always use Plastic Magic whenever you apply any coating directly to a raw TPO plastic. Let the Plastic Magic flash off for 10 minutes before topcoating.
Step 10
We will use Microtex waterborne texture material to retexture the bumper. First, catalyze Microtex with 3104 catalyst, 5% by weight.
Step 11
Using a 1.3mm basecoat gun, apply a medium wet coat of Microtex overall to the bumper. Microtex is unique in that the texture is built into the paint. This ensures consistency of appearance. There is no need to adjust gun settings or distance to the work to achieve the texture. After the first coat flashes completely, apply a full second medium wet coat of Microtex.
Step 12
Once the Microtex has dried completely, sand with 600 grit to remove loose texture and even out the appearance. Use the white nibs that appear as a guide coat to check for evenness of sanding
Step 13
To finish the bumper, we’ll apply Bumper & Cladding Coat paint to match the original color of the bumper. First, to match the original unfaded color of the bumper, use the Bumper & Cladding Coat color chip chart on the backside of the bumper. Find the color that matches most closely.
Step 14
Mix the chosen color according to the formula. Using a 1.3 mm basecoat gun, apply two medium wet coats of Bumper & Cladding Color Coat.
Step 15
The finished bumper looks brand new again. A fully textured bumper would be the most difficult because the standard of appearance would be more critical. However, textured areas on the bottom edges of bumpers would be much easier to do. So don’t be afraid next time you have a textured bumper! You can do a quality repair using Polyvance’s line of products.
Products Used For This Repair
Error (1020)

