We help people repair plastic
Airless Fusion Welding -
Cracked Polyethylene Kayak
Standard Operating Procedure
Kayaks take a beating when going up against rough waves, rocks, and narrow passages. Weathered kayaks that are often exposed to UV rays are more prone to cracks. This SOP will explain how to repair a crack on a kayak using Polyvance’s airless plastic welder.
This SOP references an airless welder with a teardrop tip, like the 5700HT Mini-Weld Model 7 or the KC Welder Pro.
Click here to open this SOP as a PDF.
Watch a video demonstrating a similar kayak repair:
Tools Required:
- PPE (medium-duty gloves, safety glasses, respirator)
- Plastic cleaner
- Aluminum tape
- Die grinder or Dremel® tool with a round or pointed tip
- Stainless steel wire mesh
- Metal tool (like a flathead screwdriver)
- Airless plastic welder with teardrop tip
- Plastic filler rod
Step-by-Step Instructions
NOTE:
If you can access the inside of the kayak, you will weld both the inside and outside of the kayak. If you cannot access the inside, you will do a repair only on the outside. This SOP will assume you cannot access the inside. The airless fusion welding process is the same regardless.
STEP 1
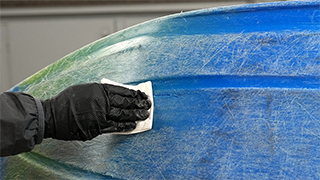
Clean the kayak. Spray 1001-4 EcoPrep or 1000 Super Prep Plastic Cleaner and wipe dry with a clean, lint-free towel. Make sure the surface is completely dry before continuing.
STEP 2
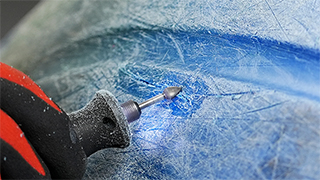
On the outside of the kayak, use a die grinder or Dremel® tool to expose the raw plastic around the crack, about half an inch on all sides.
STEP 3
Select the welding rod that matches your kayak plastic. (Use R04 or R12 rod for polyethylene kayaks. R04 rod is recommended because it melts easier.)
STEP 4
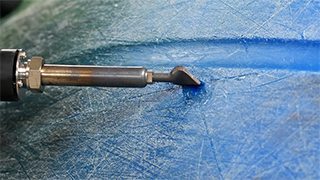
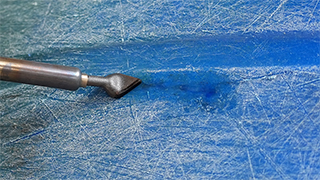
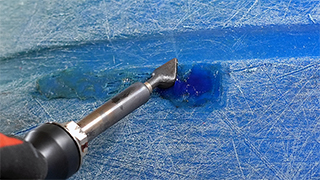
Use the sharp edge of the welder tip to melt a 1-to-2-inch groove in the plastic along the crack, and then push the displaced plastic back into the groove. Smooth the plastic using the tip of the welder.
Note: The key to this type of repair is to only work in small 1-to-2 inch sections at a time. Don't try to prepare and weld too large of an area at one time, because you won't be able to maintain heat to the substrate.
Continue this process along the entire crack.
STEP 5
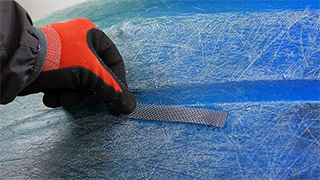
Cut a piece of stainless steel wire mesh to fit the prepped area.
STEP 6
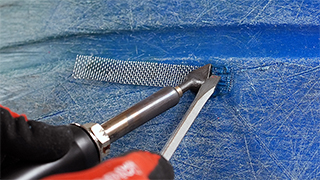
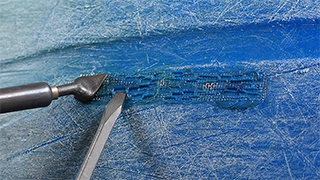
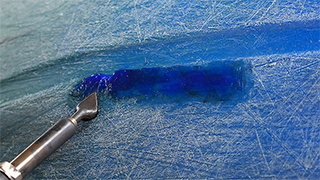
Place the mesh onto the plastic and bend it to shape if necessary. Lay the welder tip on top of the mesh to melt the plastic underneath. Once the plastic is melted, use a metal tool to push the mesh deep into the melted plastic. Work in small sections at a time.
Continue working a little at a time until the mesh is fully embedded in the plastic.
STEP 7
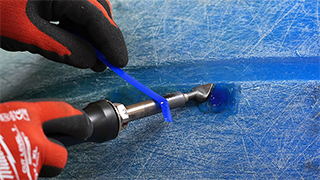
Use the welder’s tip to re-melt the plastic while simultaneously melting the filler rod on the barrel of the welder.
Melt both sides of the filler rod and stick it ontop of the melted area. Mix the filler rod and the melted plastic together.
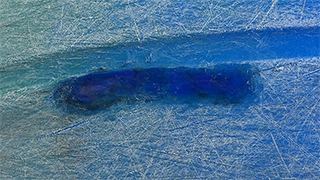
Continue working a little at a time until the mesh is completely covered and the filler rod is thoroughly mixed with the base material.
STEP 8
The weld is complete. Allow the weld to cool completely before handling.


