We help people repair plastic
Motorcycle Fairing Repair with PlastiFix
Instructional Video
Step-by-Step Instructions
Step 1
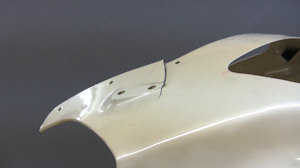
Motorcycle plastics are often discarded because of small cracks in the fairing. This will show how to use PlastiFix to repair a crack in a motorcycle fairing.
The crack in this fairing is typical of what you find in a broken motorcycle fairing.
Clean the damaged area. Some contaminants, like tar or grease, will not come off with soap and water. Use a Polyvance plastic cleaner to remove these contaminants. Use a clean cloth or paper towel and wipe in one direction to avoid recontaminating the surface.
Step 2
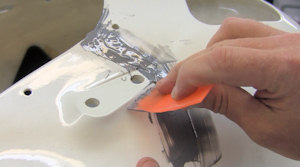
Align the crack. You may need to hold the alignment in place with aluminum body tape. On this crack, tape is not necessary.
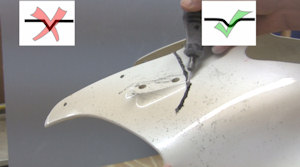
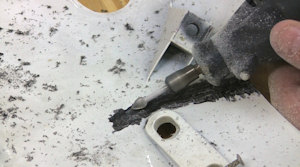
Use a rotary tool with a teardrop shaped cutting bit and grind about halfway through the plastic along the crack line.
Be sure to round off any sharp edges.
Step 3
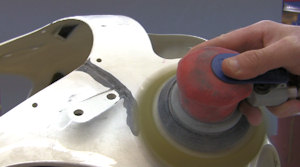
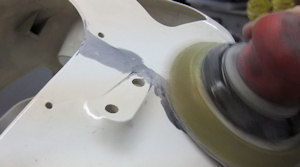
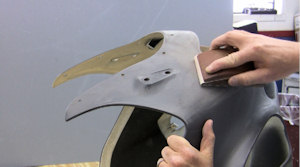
Use a DA sander with 180 grit sandpaper to remove the paint surrounding the damage and to radius into the damage.
Step 4
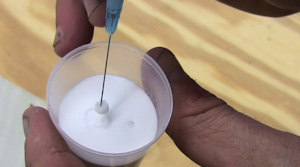
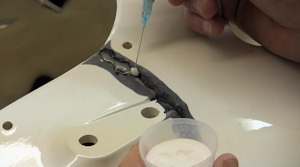
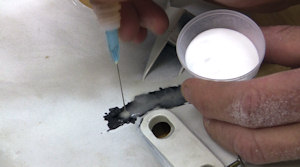
Squeeze 2 or 3 drops of liquid onto the powder then use the tip of the needle to stab the ball of liquid and powder.
Step 5
The hole of the needle is on the side of the needle. Not at the tip. When you transfer the ball of liquid and powder to the crack, give the bottle another squeeze. The liquid will run down the side of the needle and wash off the ball. Continue using this method until the crack is filled with plastifix.
Allow plastifix to cure fully before working on the opposite side.
Step 6
Use a rotary tool with a teardrop shaped cutting bit and grind about halfway through the plastic along the crack line.
Be sure to round off any sharp edges.
Step 7
Just as you did on the opposite side, fill the v-groove with plastifix and allow the PlastiFix to cure fully.
Step 8
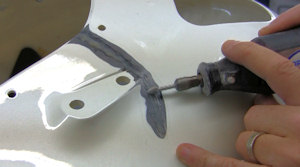
Use a rotary tool with a teardrop shaped cutting bit and remove any excess plastifix until level of the plastifix is slightly below the level of the surrounding plastic.
Step 9
Mix and apply Flex Filler to the repair area. Allow the filler to cure fully before sanding.
Step 10
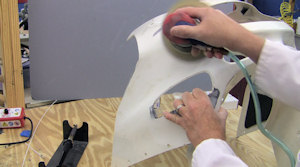
Sand the filler to the correct contour and finish sanding with 320 grit sandpaper.
Step 11
Sand any area where primer will be applied with 320 grit sandpaper.
Tight spots may need to be sanded by hand.
Step 12
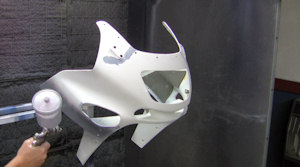
Apply a high build flexible primer surfacer and allow time for it to dry.
Step 13
With 320 grit sandpaper, sand the primer until the entire part has a smooth finish that is ready for a top coat.
Step 14
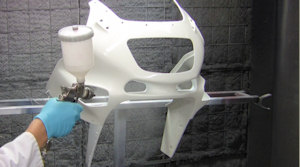
Apply the top coat according to the paint manufacturer’s recommendations. Here, we are applying a basecoat and clearcoat.
Products Used For This Repair

