We help people repair plastic
Playground Slide Repair
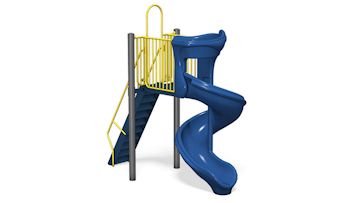
This procedure shows the step-by-step process for repairing a hole in a rotomolded polyethylene playground slide. This same technique can be used to repair a hole in any polyethylene product such as a kayak or a water storage tank. In this process we will use the nitrogen plastic welder in combination with the airless plastic welder. This repair could be done with the airless plastic welder alone, but the time required would be greatly increased.
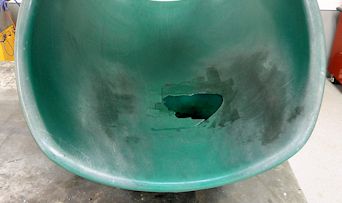
This playground slide is typical of the kind of damage you find in playgrounds all over the place. The replacement cost for these components is prohibitively expensive. On this particular slide, just this one section of slide costs over $900!
Luckily, Polyvance's products can repair these slide components for a fraction of the cost of replacing. This step-by-step procedure shows how easy it is to repair over-priced, broken playground equipment.
Tools and Products Required:
- A Nitro Fuzer nitrogen plastic welder (alternately 6055 hot air welder and 5700HT airless plastic welder)
- 5010-4 Polyethylene sheet, 10”x10” square
- R04-04-03-NT Polyethylene ribbon
- R04-02-03-NT Polyethylene 3/16" diameter round rod
- 6485 Aluminum tape (alternately 6482 aluminum tape)
- 6122 carbide ball burr in a ¼” air die grinder
Step-By-Step Instructions
Step 1
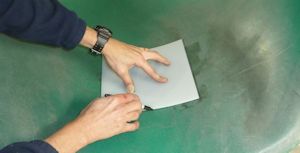
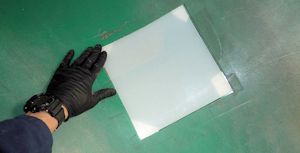
Lay the 5010-4 patch over the damaged area and trace around the outer edge with a marker. In this case we used the entire 10"x10" piece of plastic. If your hole is smaller, cut the patch down to the smallest size that will cover the damage.
Step 2
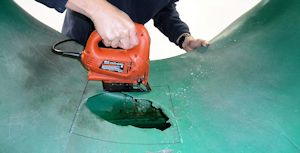
Using a jig saw, carefully cut the area out of the part where you will insert the patch.
Step 3
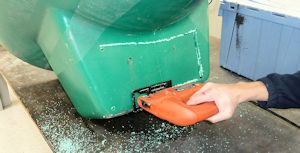
To make the strongest repair possible, it is necessary to weld the back side of the patch. Because this playground slide is hollow, we need to cut a window out of the outer shell to get access to the backside. After the repair is finished, we will weld this window closed again.
Step 4
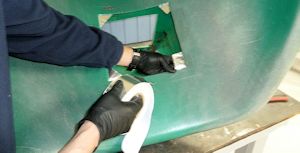
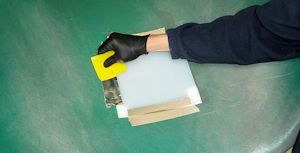
Apply some 6485 aluminum tape in the corners. These will support the patch and keep it from falling through the hole.
Step 5
Drop the patch into the hole. Shape it with a heat gun as necessary to match the curvature of the original part.
Step 6
Tape along the edges of the patch with 6485 aluminum tape to hold it flush with the outer surface of the part. This tape will hold the patch in position while the back side is welded.
Step 7
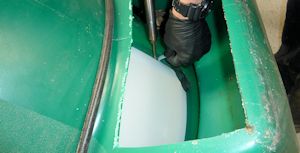
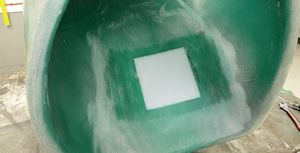
Using the nitrogen welder and the R04-04-03-NT polyethylene ribbon, weld the patch to the part on the backside. The ribbon should bridge across between the patch and the parent material to fuse the materials together all the way around the edge of the patch. Weld between the tape in the corners first, then remove the tape and finish the corners.
Step 8
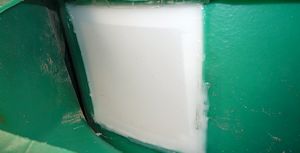
When finished, the ribbon should be welded all the way around the edge of the patch, fusing the patch and the parent material together as shown.
Step 9
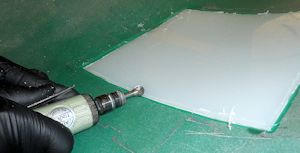
On the outer surface, use a 6122 carbide burr to grind a v-groove all the way along the outer edge of the patch.
Step 10
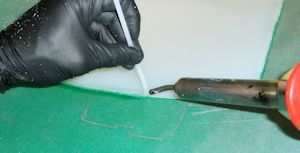
Using the nitrogen welder, weld the R04-02-03-NT polyethylene round rod into the v-groove, fusing the two materials together as you make your pass.
Step 11
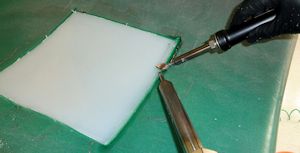
While the weld is still hot, use the airless welder with the 6031 teardrop welding tip to smooth the weld. Focus the hot nitrogen gas onto the plastic just in front of the welding tip to heat the material. Move the airless welder very slowly and evenly to smooth the transition between the two plastics.
Step 12
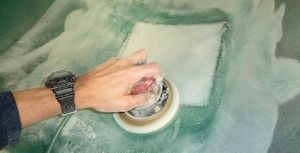
After the welds are completely cool, use 80 grit sandpaper to smooth the weld and feather it with the patch and the base material. If there are any low spots, weld again to fill, let cool, and sand again. After you are satisfied with the smoothness of the patch, then sand with 180 grit and 320 grit sandpaper to reduce the coarseness of the sandscratches.
Step 13
The surface can be further smoothed using a heat gun to melt the surface "fuzz". When finished, weld the window you cut out of the outer shell.
Products Suggestions

