We help people repair plastic
Kenworth Hood Repair Kit

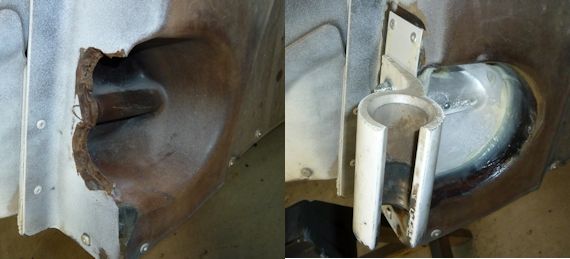
The damage to Kenworth Metton hood pockets is very common. So common, in fact, that Kenworth has a technical service bulletin (TSB) that addresses the issue. Their solution? Replace the hood! An OEM Kenworth hood will set you back at least $5,000. Even an aftermarket fiberglass Kenworth hood costs about $2,500. Polyvance has a much more economical solution to repair the damaged Kenworth hood pockets. Polyvance's "Kenworth Hood Repair Kit" will allow you to repair the damaged horseshoe-shaped hood pockets on your Kenworth for a fraction of the cost of replacing your damaged Kenworth hood.
Polyvance's "Kenworth Hood Repair Kits" contain:
- One pair of aluminum hood pocket reinforcement plugs.
- One pair of steel reinforcement plates (when necessary).
- PlastiFix High Performance Acrylic Adhesive
- All of the required nuts, bolts, rivets, washers, and screws.
Tools that you will need: (not included with kits)
- Drill
- Drill Bits
- Phillips head screwdriver
- 50 grit Roloc disk and sander
- 60-80 grit sandpaper
- Rivet gun
Instructional Video (for T800 hood repair kit)
Step-By-Step Instructions (for T800 hood repair kit)
Step 1
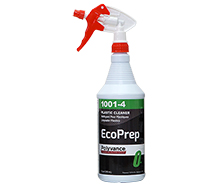
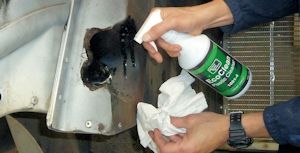
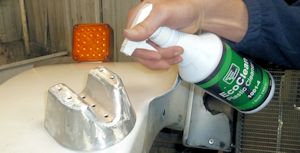
Clean both pockets and the surrounding area where the plate will be bonded in the hood with 1001-4 EcoPrep Plastic Cleaner.
Step 2
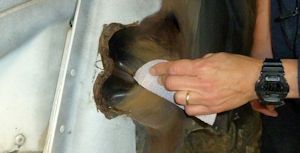
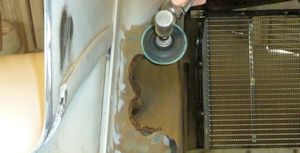
Hand sand the inside of the pockets with 60 to 80 grit sandpaper to roughen the surface and remove ALL paint.
Step 3
Grind the flat area where the plates will be bonded with a 50 grit Roloc disk, then blow the dust away.
Step 4
Clean the outside of the reinforcing plugs with 1001-4 EcoPrep Plastic Cleaner.
Step 5
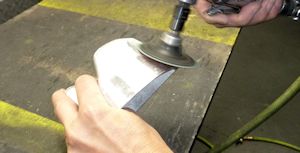
Thoroughly grind the outside surface of the plug with a 50 grit Roloc disk to make the aluminum receptive to PlastiFix adhesive.
Step 6
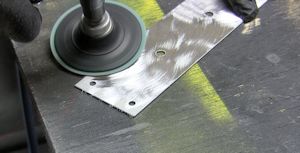
Grind the paint off of one side of the bearing plate to improve adhesion. Blow the dust away. Do NOT clean with EcoPrep.
Step 7
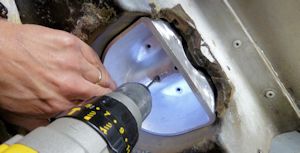
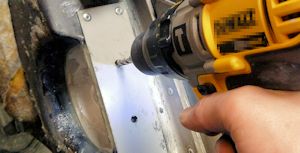
Drill a 1/8" pilot hole into the plastic using the middle plug hole as a guide. Use the correct DRVR or PASS plug. They are different!
Step 8
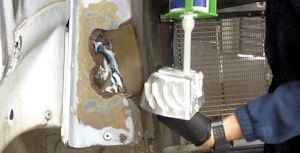
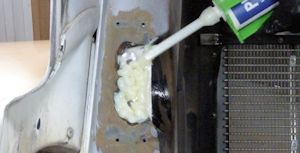
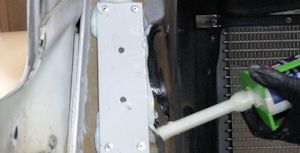
Generously coat the plug and socket with enough PlastiFix adhesive to fill any gaps between the plug and the pocket.
Step 9
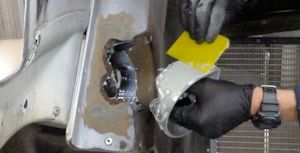
Spread the adhesive evenly over the plug and inside the socket. Working time is about 15 minutes at room temperature.
Step 10
Install the plug and use a #10 wood screw to secure the plug into position. Wipe up excess adhesive with a gloved finger or spreader.
Step 11
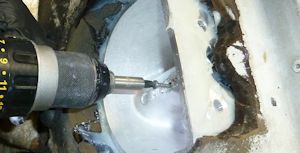
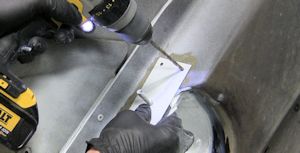
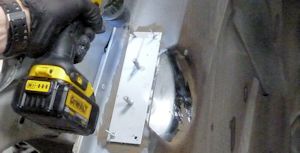
Using two 5/16" x 2" bolts as a guide for the bearing plate, drill the first 3/16" rivet hole into the hood. Note: The plates are identical.
Step 12
With a rivet temporarily placed in the first hole as a guide, drill the remaining rivet holes. Remove the plate, bolts, and rivet.
Step 13
Fill the broken-out area on the side of the plug with adhesive, then coat the sanded side of the bearing plate with adhesive.
Step 14
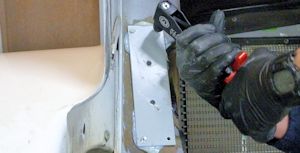
While pushing firmly down on the bearing plate, rivet the plate into place using four 3/16” rivets, one in each corner.
Step 15
Fill the gap between the plate and the plug completely with PlastiFix. Clean up excess with a gloved finger or body spreader. Let cure for 2 to 4 hours minimum at 70°F (21°C).
Step 16
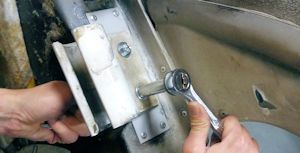
Re-drill the bolt holes with a 5/16" drill bit.
Step 17
Install the hood brackets using the supplied 5/16" x 1-3/4" bolts, nuts, and washers. Use a flat washer under both the bolt head and lock nut.
Step 18
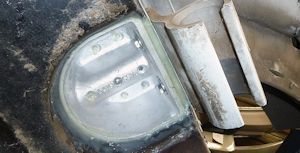
A job well done and ready for the road. Congratulations, you just saved a lot of time and money!
Before and After
Product Suggestions
Related Pages

