We help people repair plastic
Motorcycle Fairing Tab Repair with PlastiFix
Instructional Video
Step-by-Step Instructions
Step 1
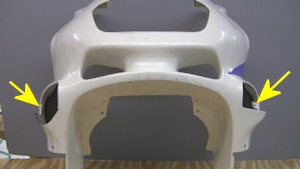
Motorcycle fairings are often discarded because of broken tabs and bolt holes or missing pieces. In this procedure, we will use the PlastiFix kit to copy an existing tab with the molding bar and then recreate the missing tab.
Step 2
Clean the damaged area. Some contaminants, like tar or grease, will not come off with soap and water. Use a Polyvance plastic cleaner to remove these contaminants. Use a clean cloth or paper towel and wipe in one direction to avoid recontaminating the surface.
Step 3
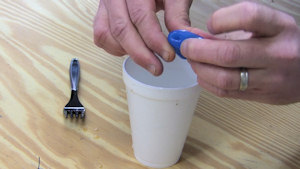
Drop the molding bar into boiling water. We heated the water in the microwave. It takes just a few minutes. Allow enough time for the heat to soften the molding bar all the way through. Remove the molding bar from the boiling water and it will be pliable for a short time.
Step 4
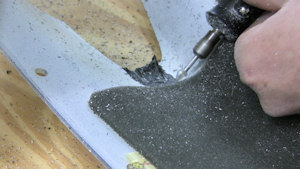
Use a rotary tool with a teardrop shaped cutting bit to remove the paint where the tab will be created. Remove as much paint as possible as plastifix does not bond well to a shiny surface. Blow the dust away with compressed air.
Step 5
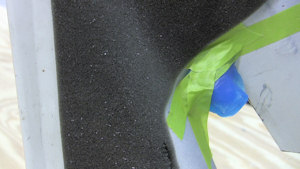
Get the pattern that was created earlier and decide on the best location for the tab and then tape the pattern into place.
Step 6
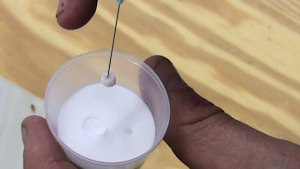
Squeeze 2 or 3 drops of liquid onto the powder then use the tip of the needle to stab the ball of liquid and powder.
Step 7
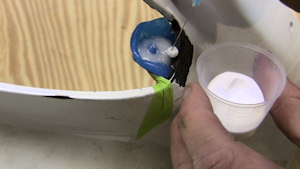
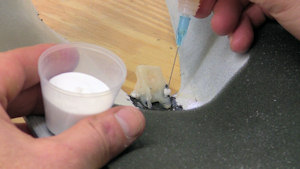
The hole of the needle is on the side of the needle, not at the tip. When you transfer the ball of liquid and powder to the pattern, give the bottle another squeeze. The liquid will run down the side of the needle and wash off the ball. Continue using this method until the mold is filled with plastifix.
Step 8
Allow time for the plastifix to cure. The cure time can be reduced by applying heat. Once it is cured, peel the pattern from the plastifix. This may be a little bit difficult and you may need to get a screwdriver or something to aid in the removal.
Step 9
You may need to fill in some voids that were not filled while the pattern was in place. Again, allow time for the plastifix to cure fully.
Step 10
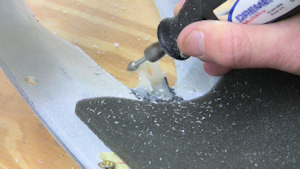
Use a rotary tool with a teardrop shaped cutting bit to shape the tab and redrill the bolt hole. Grind away excess plastifix so that the thickness of the tab closely matches the thickness of tab that was copied. Plastifix can also be sanded if necessary.
Step 11
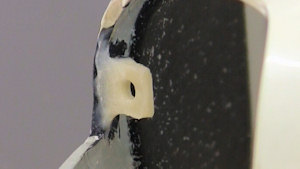
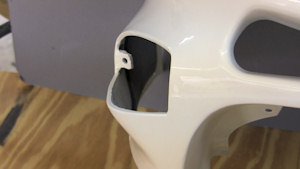
You should now have a strong tab that closely resembles the tab that was copied.
Step 12
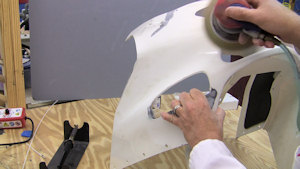
Sand any area where primer will be applied with 320 grit sandpaper. Tight spots may need to be sanded by hand.
Step 13
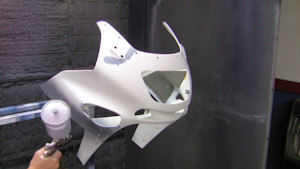
Apply a high-build, flexible primer surfacer and allow time for it to dry.
Step 14
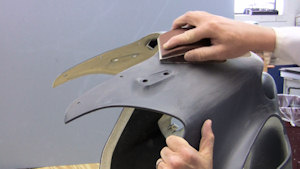
With 320 grit sandpaper, sand the primer until the entire part has a smooth finish that is ready for a top coat.
Step 15
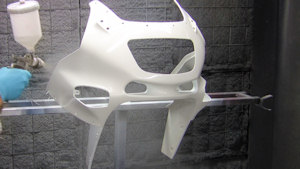
Apply the top coat according to the paint manufacturer’s recommendations. Here, we are applying a basecoat and clearcoat.
Step 16
Here is the new tab.
Products Used For This Repair

